

Star Nails: The Ultimate Nail Art Guide
Welcome to The Insider’s Perspectives guide on the most proficient method to create dazzling nail art using star nails. On the off chance that you’re shifting focus over to up your nail game and stand out from the group, you’ve come to the right place. In this exhaustive guide, we’ll take you through step-by-step directions on the most proficient method to achieve fabulous star nail plans, tips on picking the ideal nail clean colors, and significantly more. Say goodbye to plain nails, and prepare to sparkle with dazzling star nails!
Introduction: The Magic of Star Nails
Star nails are a stylish and eye-catching nail art plan that adds a touch of caprice and elegance to your overall look. Whether you’re attending a special occasion or simply want to communicate your creativity, star nails are the ideal decision. They can be customized to suit any style, from inconspicuous and sophisticated to strong and adventurous.

- Getting Started: Preparing Your Nails
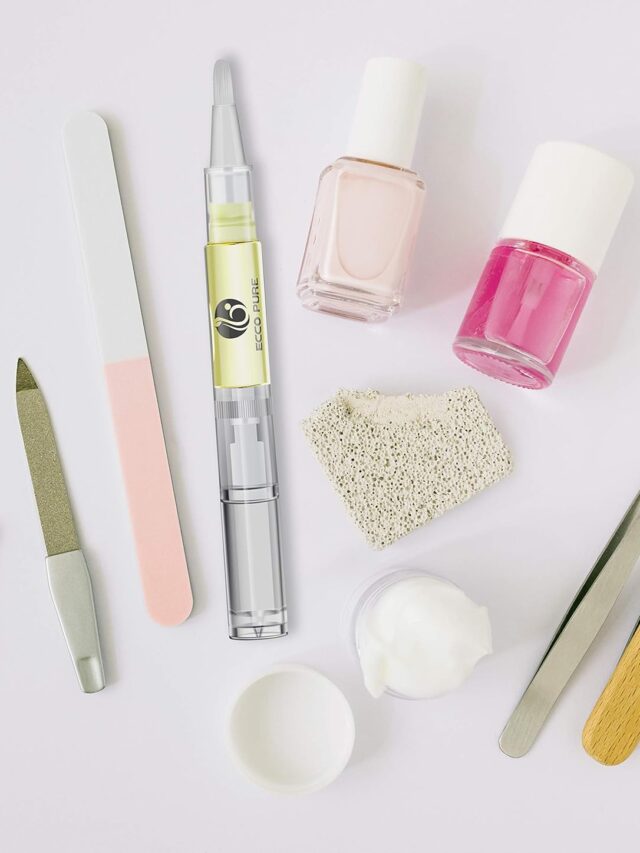
Before we jump into the star nail plans, it’s essential to prepare your nails appropriately to guarantee the best outcomes. Follow these steps:
2.1. Clean and Shape Your Nails
Start by eliminating any old nail clean and tenderly shaping your nails with a document. Settle on a shape that supplements your fingers and enhances the overall appearance of the star nail plan.
2.2. Pamper Your Cuticles
Apply fingernail skin oil and utilize a fingernail skin pusher to delicately push back your cuticles. This step will give your nails a neat and cleaned look once the star nail configuration is finished.
2.3. Apply a Base Coat
Safeguard your natural nails and assist the nail with cleaning adhere better by applying a dainty layer of base coat. This will also prevent staining and help your star nails last longer.
- Creating Star Nails: Step-by-Step Guide
How about we get into the astonishing part – creating the star nail plans! We’ll walk you through three shocking star nail art ideas that you can attempt at home:
3.1. Classic Starry Night
The classic starry night configuration is ideally suited for the people who love a touch of elegance. Follow these steps to achieve this look:
Step 1: Choose the Right Colors
Decide on a dark blue or midnight black nail clean as the base tone. This will emulate the night sky and make the stars stand out beautifully.
Step 2: Create the Stars
Using a dainty nail art brush or a spotting tool, plunge it into white nail clean and carefully create small stars on your nails. You can make them uniform in size or vary their sizes for a more natural look.
Step 3: Add Glitter
To add a touch of sparkle, apply silver or gold glitter nail clean over the stars. This will give your starry night plan a celestial sparkle.
Step 4: Seal with Top Coat
When the plan is finished and has dried, apply a clear top coat to safeguard your nail art and give it a glossy finish.
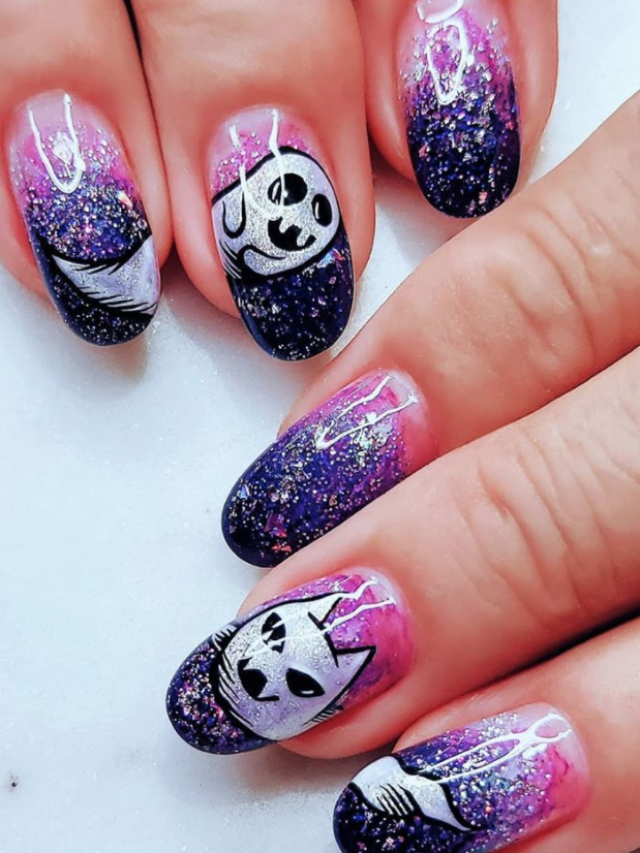
3.2. Galaxy Glam
For a more vibrant and mystical look, attempt the galaxy glam star nail plan:
Step 1: Galaxy Base
Start with a dark, galaxy-propelled nail clean as the base tone. Search for one with a blend of profound purples, blues, and blacks to create the deception of a starry night sky.
Step 2: Sponge Technique
Utilize a makeup sponge to apply lighter shades of purple, blue, and pink randomly on your nails. This will give a whirling and ethereal impact to emulate a galaxy.
Step 3: Glittery Stars
When the galaxy impact has dried, add small and large stars using a white or holographic glitter nail clean. You can also involve star-shaped nail stickers for accuracy.
Step 4: Top Coat
Finish with a glossy top coat to seal in the plan and make it last longer.
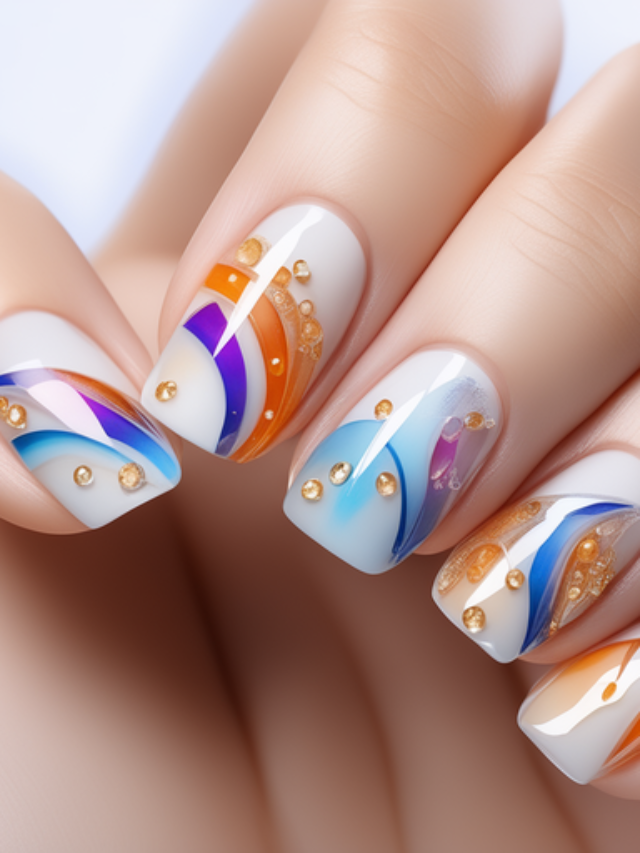
3.3. Constellation Chic
In the event that you favor a minimalistic and chic look, the constellation star nail configuration is the ideal decision:
Step 1: Nude Base
Apply a neutral or nude nail clean as the base tone. This will create a clean canvas for the constellation stars.
Step 2: Star Arrangement
Using a fine nail art brush, carefully draw small stars in the shape of a constellation on your nails. You can choose your zodiac sign or create your own interesting constellation.
Step 3: Metallic Accents
Add a touch of glamor by incorporating metallic accents in silver or gold around the stars or as a line.
Step 4: Glossy Finish
Finish the look with a high-sparkle top coat to enhance the elegance of your constellation chic star nails.
- Maintaining Your Star Nails
To keep your star nails looking fabulous for longer, follow these maintenance tips:
Avoid using your nails as tools to prevent chipping and breakage.
Apply a new layer of top coat at regular intervals to maintain the sparkle and safeguard the plan.
Saturate your hands and cuticles regularly to keep your nails healthy and hydrated.
Avoid harsh chemicals and use gloves while doing family tasks.
- Conclusion
Presently you’re armed with the information to create shocking star nails that will blow some people’s minds and make you the focal point of attention at any occasion. Whether you choose the classic starry night, the mystical galaxy glam, or the chic constellation configuration, you’re certain to dazzle everybody with your creativity and style.
All in all, what are you waiting for? Grab your favorite nail shines, unleash your artistic flair, and prepare to shake those star nails more than ever!